
Operating System
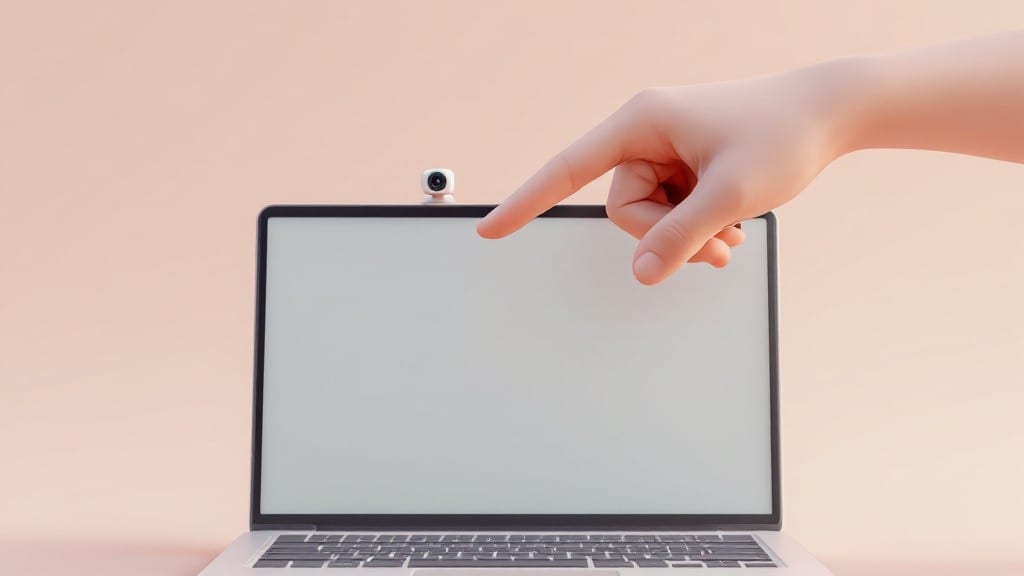
Most laptops from the last decade include a webcam, usually near the top of the screen or in the hinge area. 🔥 I remember my first ThinkPad from 2005 had a tiny built-in camera—it was a game-changer for video calls back then.
Desktops, however, rarely ship with cameras unless they're all-in-one models or you've plugged in a USB webcam. If you're unsure, checking your device specs or running a quick test in Zoom can save time troubleshooting later.
Windows and macOS make it easy to spot cameras through their built-in tools.
For example, the Windows Camera app or macOS Photo Booth will show a live feed if your camera works, while privacy settings reveal whether apps can access it. 💫 This is especially useful when setting up new devices or troubleshooting connectivity issues.
💡 In This Article
- How to Locate Your Computer’s Built-in Camera
- Testing Your Computer Camera in Software
How to locate your computer’s built-in camera
Modern laptops typically hide their webcams in one of three places: the top bezel near the screen, the hinge area where the screen meets the keyboard, or the keyboard area itself. 🔥 For example, most Dell XPS models place the camera in the top center above the screen, while Apple MacBooks position theirs in the top-right corner of the screen frame.
The camera usually appears as a small, round lens with an infrared LED nearby for low-light performance.
Desktop PCs rarely have built-in cameras unless they're all-in-one models like the iMac or HP Envy All-in-One. In these cases, the camera is usually integrated into the screen frame, similar to laptops.
If you're using a traditional desktop with separate monitor and tower, you'll need to check for USB webcam ports on the back of your computer or look for a small camera module attached to the monitor stand. Some USB hubs or docking stations also include webcam passthrough capabilities.
To verify your hardware specs without opening the case, Windows users should press Win + Pause/Break to access System Information, then navigate to "Components" > "Camera." macOS users can find this under "About This Mac" > "System Report" > "Camera."
This shows the exact camera model (like the Microsoft LifeCam HD-3000 or Apple iSight) and its capabilities, including resolution (typically 720p or 1080p) and field of view.
What most people don't realize is that some laptops have physical camera shutters that can block the lens when not in use.
For instance, Lenovo ThinkPads have a small sliding cover that can be manually opened or closed. 💫 If your camera appears to be missing but your specs show it exists, check for these physical obstructions first—especially on business-grade laptops where privacy features are common.
For troubleshooting disabled cameras, start by checking the small green LED indicator light near the lens. If it's not lit during a video call, your camera might be physically blocked or disabled in BIOS.
Some enterprise laptops even have a hardware switch that completely disables the camera at the hardware level, bypassing software settings entirely. This is why visual inspection and hardware checks are just as important as software verification.
One pro tip: If you're using an older laptop (pre-2010), the camera might be a low-resolution VGA (640x480) model. These often have lower light sensitivity and may appear grainy in dim conditions. Modern webcams typically use 720p or 1080p sensors with autofocus and digital noise reduction—noticeable improvements over their predecessors.
Remember that camera placement affects privacy too. Many newer laptops now include privacy screens or physical shutters that automatically cover the lens when the camera isn't in use. This hardware-level protection is particularly common in European models due to stricter privacy regulations like GDPR.