
PowerPoint
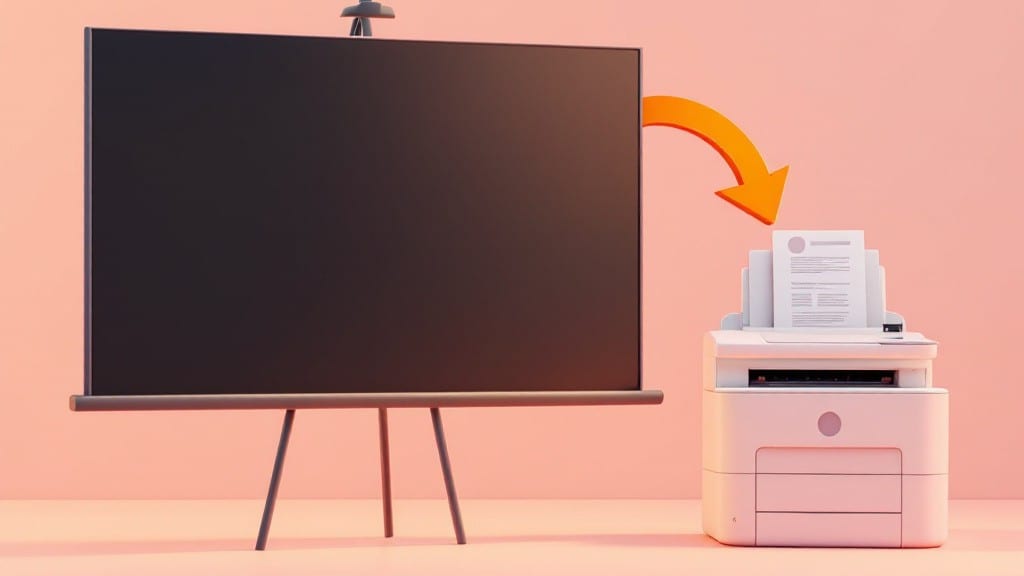
Printing handouts in PowerPoint saved me from last-minute panic during a client presentation years ago. ⚡ The trick is buried in the Print menu—most people miss it because it doesn’t announce itself.
Whether you're prepping for a classroom, boardroom, or community meeting, handouts turn slides into tangible takeaways without sacrificing your design.
Here's the secret: after clicking File > Print, look for the Settings dropdown where "Handouts" hides. You can fit 2, 3, 4, 6, or even 9 slides per page, and adjust margins to avoid awkward cropping.
PowerPoint for Windows and Mac handle this nearly identically, though Mac users might need to tweak printer drivers first—something I learned the hard way with a stubborn AirPrint job.
You'll end up with professional-looking sheets that include speaker notes if needed, all while keeping your original slides intact. The best part? This method works for any presentation length—from 5 slides to 50—without requiring extra software. Just watch for printer memory limits when packing multiple slides per page.
For troubleshooting, remember: if the Handouts option is grayed out, restart PowerPoint or check your printer's compatibility mode. And if your handouts print tiny? Adjust the scale percentage in the Print dialog before committing. Trust me, these small fixes save hours of frustration later.
📚 In This Guide
- What you need
- Instructions
- Tips and common mistakes
- Wrapping up and next steps
What you need
- ● Computer or Laptop: Running Microsoft PowerPoint (2010 or later, including Microsoft 365).
- ● Printer: A functional printer (laser or inkjet) with paper trays loaded.
- ● Paper: Standard size: 8.5 x 11 inches (Letter) or A4 (for international users).
- ● Quantity: At least 10-20 sheets (depending on handout length).
- ● Type: White or light-colored paper (80-90 gsm for durability).
- ● PowerPoint File: Your presentation saved as a .pptx or .ppt file.
- ● Printer Paper Tray: Extra trays for bulk printing (if printing multiple copies).
- ● Printer Ink/Toner: Check levels to avoid mid-print jams! 🚫🔴
- ● Binder or Stapler: To assemble handouts neatly post-print.
- ● Laminator (for durability): If handouts will be used repeatedly.
- ● USB Drive or Cloud Backup: Save your file beforehand—just in case! 💾☁️
Step-by-Step instructions for printing presentation handouts in PowerPoint
Here’s how to generate clean, professional handouts that match your slides perfectly.
🖥️ Step 1: Open Your Presentation and Navigate to Print Options
Launch PowerPoint and open the presentation you need to print. Click the File tab in the top-left corner—this opens the Backstage view where all print settings live. I always recommend double-checking your slides first to ensure no last-minute edits are missed.
From the left-hand menu, select Print. The Print pane appears on the right, showing preview options. Here’s where you’ll customize your handout layout. The default setting is usually Full Page Slides, but we’re targeting Handouts instead.
🖱️ Step 2: Configure Handout Layout and Print Settings
In the Settings section of the Print pane, locate the dropdown labeled Print Layout. Click it and select Handouts. This reveals three sub-options: 3 Slides per Page, 6 Slides per Page, or Notes Pages. For most presentations, 6 Slides per Page is ideal—it balances readability with paper efficiency.
Under Print Range, choose All unless you only need specific slides. For Copies, enter the quantity you need—this saves time over printing multiple sheets later. I always enable Print Comments and Ink Saving if your printer supports it, as it reduces ink usage without sacrificing quality.
💡 Step 3: Adjust Margins and Orientation for Best Results
Click the Printer Properties link (or Printer Settings in some versions) to fine-tune your output. Here, you can adjust paper size (typically 8.5 x 11 inches for standard handouts) and orientation (usually Portrait). If your printer supports duplex printing, enable Two-Sided Printing to save paper—just ensure your slides are centered to avoid awkward cropping.
Under Margins, set them to Normal or Narrow to maximize slide visibility. If you’re using a poster-sized handout, switch to Landscape and adjust margins to 0.5 inches for a cleaner look. Always preview the layout before printing—this step catches misalignments before wasting paper.
⏰ Step 4: Print and Verify the Output
Click Print to send the job to your printer. If using a network printer, ensure it’s online and properly configured in your system’s print queue. For color printing, select the appropriate profile—High Quality for vibrant slides or Draft Mode for quick black-and-white handouts.
Once printed, review the first few pages to confirm slides are legible and properly aligned. If text appears too small, revisit Printer Properties and adjust the Scale setting to 90% or lower. For laser printers, use Black and White mode to reduce toner costs while maintaining readability.
💻 Step 5: Save Handouts as a PDF for Digital Distribution (Optional)
If you need to share handouts digitally, return to the Print pane and select your printer as Microsoft Print to PDF. Click Print again, then save the file to your desired location. This preserves formatting and ensures recipients view identical layouts to your printed version.
For email distribution, compress the PDF to reduce file size—most email clients cap attachments at 25MB. Rename the file clearly (e.g., "ClientPresentationHandouts2024.pdf") to avoid confusion. This step is especially useful for remote teams or virtual meetings.
Tips & tricks for perfect PowerPoint handouts
These insider strategies will help you avoid common pitfalls and create handouts that look as polished as your presentation.
Preview Before Printing: In Step 4, take that extra 30 seconds to click the Preview button in the Print pane. This lets you see exactly how your slides will appear on paper—including any awkward text wrapping or misaligned elements. I’ve caught slide misalignments and missing speaker notes this way before wasting paper.
Printer-Specific Settings: Not all printers handle handouts the same way. In Step 3, when adjusting margins, check your printer’s manual for its minimum margin settings—some require at least 0.25 inches to avoid cutting off slide content. For laser printers, enable Black and White mode for cost savings while maintaining readability, as mentioned in Step 4.
Digital Distribution Strategy: For Step 5, I recommend creating a folder structure on your desktop before saving PDFs. Use a naming convention like "ClientNamePresentationDateHandouts.pdf"—this makes it easy to find files later. For email distribution, compress the PDF to 15MB or less using free tools like Adobe Acrobat or online compressors.
Network Printer Troubleshooting: If you’re using a network printer in Step 4, test the connection by printing a single page first. Network printers often have their own settings that override PowerPoint’s defaults. I’ve seen cases where the printer’s default paper size was set to A4 instead of Letter, causing distorted handouts. Always double-check this before printing full sets.
Pro Tips for Print Handouts In Powerpoint
- These insider strategies will help you avoid common pitfalls and create handouts that look as polished as your presentation.
- Preview Before Printing: In Step 4, take that extra 30 seconds to click the Preview button in the Print pane.
- Printer-Specific Settings: Not all printers handle handouts the same way.
Frequently asked questions
Got questions about printing handouts in PowerPoint? You’re not alone! Here are some of the most common concerns—and quick answers to save you time and stress.
Can I print handouts for just one slide instead of the whole presentation?
Yes! PowerPoint lets you customize your handout range. Before printing, go to File > Print, then under "Settings", select "Slides" and choose "Custom range". Enter the slide numbers (e.g., 5-7) or individual slides (e.g., 3, 8, 10). Pro tip: Use Ctrl+Click to select multiple slides in the thumbnail preview!
How long does it take to print handouts for a 50-slide presentation?
Printing time depends on your printer and settings. For a 50-slide presentation with 6 slides per page (standard handout layout), expect 2-5 minutes on a mid-range printer. Tip: If you’re in a hurry, print draft mode (black & white, lower quality) to speed things up. Always test with a sample first!
Why does my handout look different from the slide in PowerPoint?
Handouts often show 6 slides per page by default, which can distort layouts. To fix this, go to Design > Slide Size > Custom Slide Size and adjust the dimensions. For better control, use File > Print > Handouts > "Notes Pages" to include speaker notes alongside slides.
Is there a way to print handouts without printing the slides themselves?
Not directly—but you can work around it! First, duplicate your slides as handouts: Right-click a slide > Duplicate Slide. Then, edit the duplicates to remove slide content (keep only speaker notes or key points). Finally, print these edited slides as handouts. Bonus: Save them as a PDF first for easy sharing!
What if my printer won’t let me print handouts?
If your printer doesn’t support handout layouts, try these fixes:
- Print as "Notes Pages" instead (includes slides + notes).
- Use Microsoft Print to PDF (File > Export > Create PDF/XPS) and open the PDF in another program like Adobe Acrobat for custom layouts.
- Check your printer driver settings—some older models need updates.
Still stuck? Tip: Ask your IT department or try printing from a different computer!
Wrapping up and next steps
Mastering how to print handouts in PowerPoint is a game-changer for seamless presentations—whether you're distributing notes to colleagues, students, or clients. 🎉 With just a few clicks, you can customize layouts, adjust settings, and ensure your audience stays on track.
Now that you’re equipped with these steps, put your new skills to work by refining your next presentation or creating professional handouts for your team!
Ready to take it further? Experiment with different handout styles or explore PowerPoint’s advanced features like speaker notes and slide transitions. Your next presentation will shine brighter than ever!